Introduction
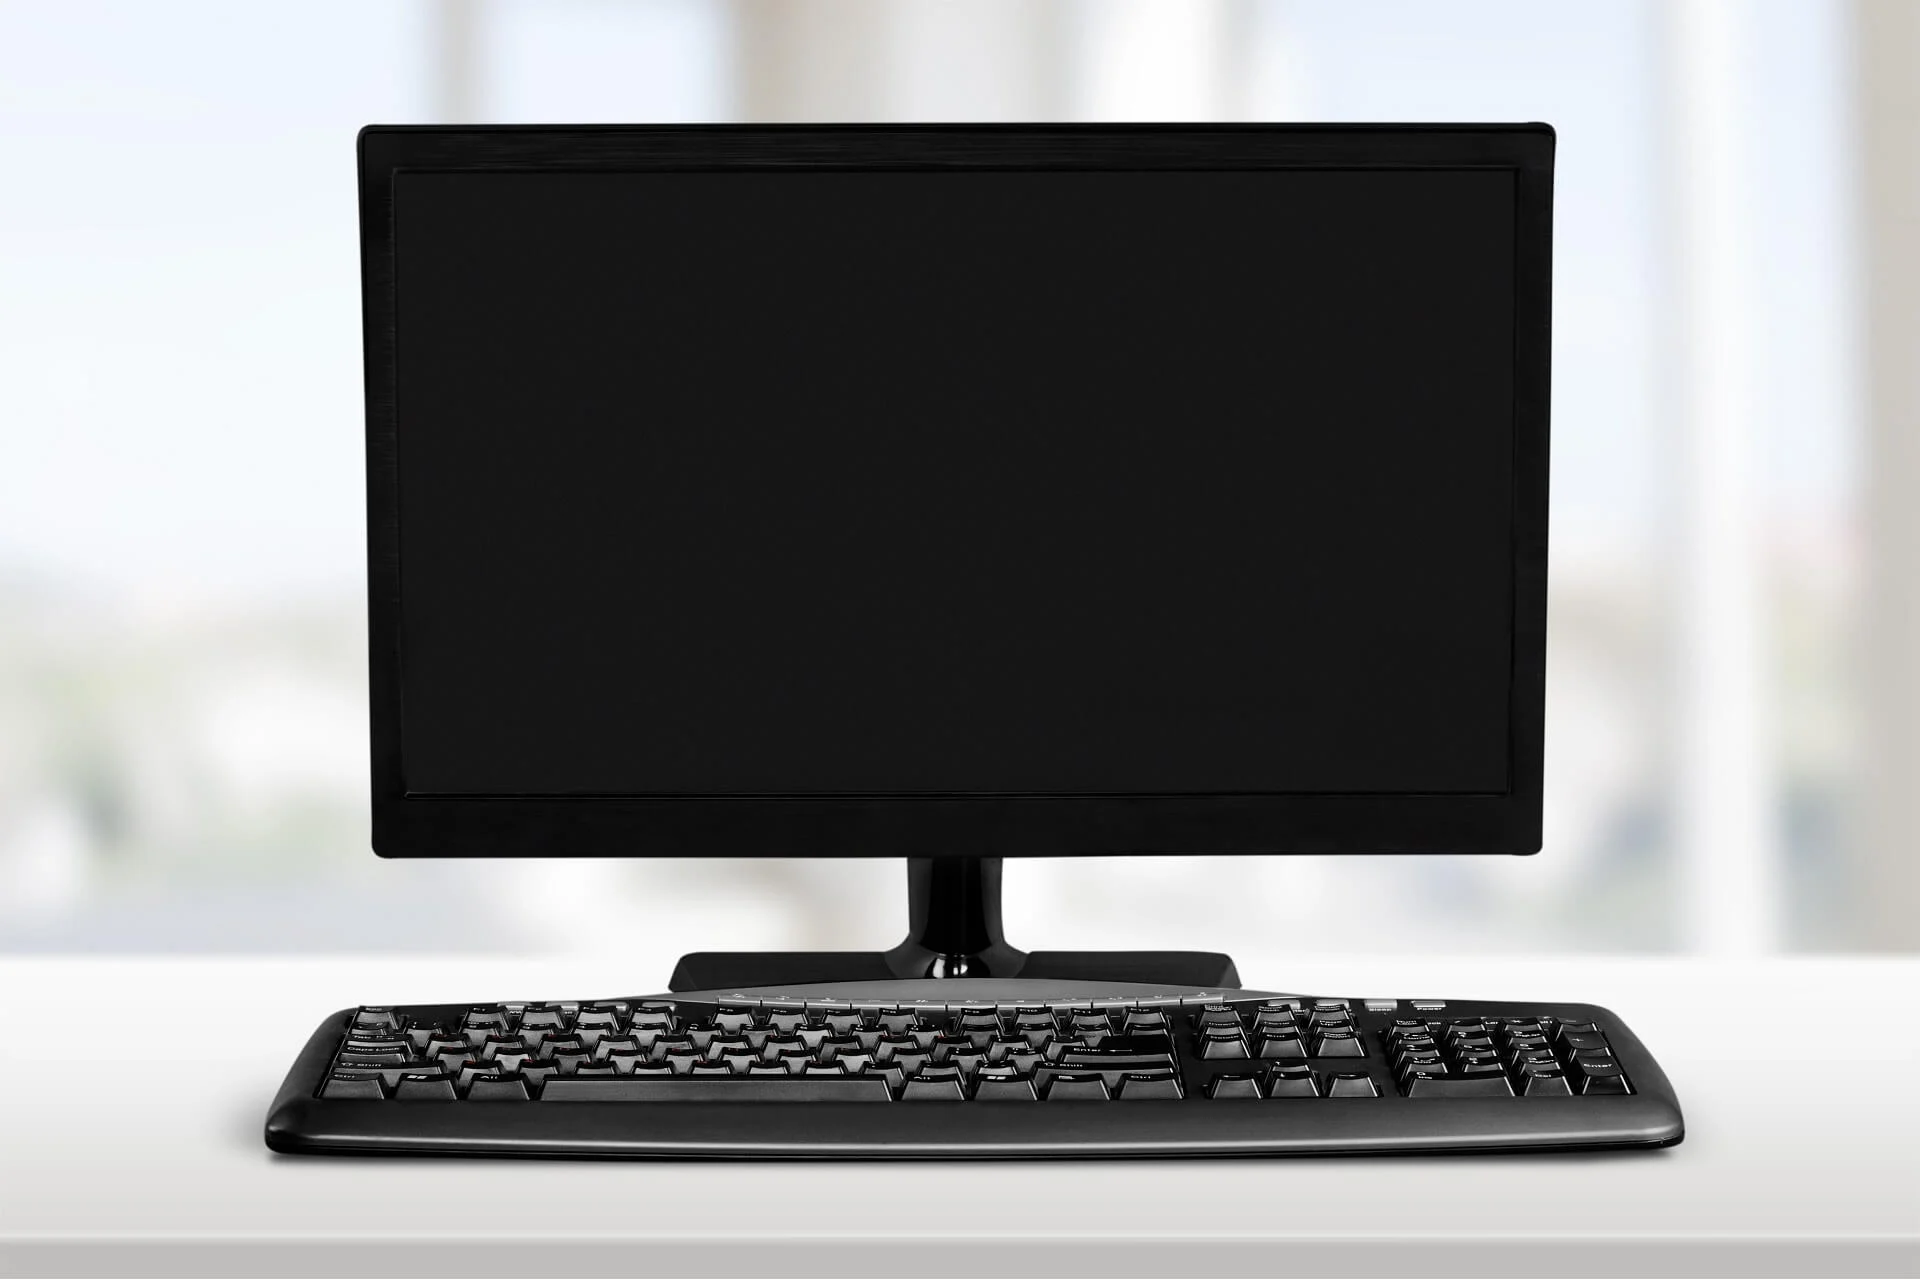
When your computer screen displays a blank screen, it usually means that the data it attempts to show has not been received. You must locate the problem’s origin if you want to solve it.
A dark screen could have some causes. A bad graphics card, a defective cable connection, or an out-of-date driver might be to blame. Sometimes, the issue can be resolved by restarting the pc. If that doesn’t solve the problem, you might need to verify your connections, install new drivers, or get help from a professional expert.
Taking care of the problem right away is crucial to prevent further harm to your system. Although a black screen can be annoying, with the proper approach and troubleshooting techniques, you can frequently quickly get your computer back up and working usually.
When Your Computer Screen Goes Dark

A few potential offenders to consider when troubleshooting a computer that displays a black screen despite being turned on. Eliminate any problems with the monitor or cable before looking further inside the computer.
The next step is to look into the root reasons for the issue, presuming the monitor and cable are working correctly. One potential offender is a malfunctioning power supply unit (PSU), which might not be giving the system adequate power.
The graphics processing unit (GPU), which can be broken or not correctly positioned in its slot, is another potential problem. An unresponsive GPU might cause a black screen in addition to other issues.
Lastly, BIOS settings might also be at fault. It is important to double-check the settings to ensure they are set up correctly and aren’t impeding a proper pc startup.
You can identify the issue causing your pc screen to remain dark and fix it by looking at these typical causes.
Troubleshooting Guide: How to Fix a Computer with a Black Screen

The most incredible place to start when troubleshooting a computer is with quick, simple repairs. In many cases, the problem can be solved with these fast fixes. You should test a few of your computer’s parts if the issue continues and the image on your monitor is not fixed.
The initial quick fixes take less time and effort than testing a computer’s components. It entails locating potential hardware and software problems that could be the source of the issue. To identify the head of the problem, this method may entail running diagnostics on specific components, such as the graphics card or RAM.
It’s vital to remember that troubleshooting a computer can be complicated and that, occasionally, expert assistance may be required. But you may frequently address the issue independently by starting with simple adjustments and working to more sophisticated ones.
Try to restart your computer.
When troubleshooting a computer issue, one of the first things to do is to ensure the machine has completely restarted. Even if you think your computer is off, it can be in a low-power mode to hasten startup. Hence, shutting down the computer completely ensures you start again with a natural clean slate.
In order to initiate a full system restart on your computer, you need to press and hold the power button for five seconds and then release it. After doing this, wait until the computer has fully booted up before moving on to the next troubleshooting step. By doing this, you can be sure that any past problems or settings have been erased, improving your chances of finding and fixing the issue.
Ensure the monitor is connected correctly.
It is essential to check that the monitor is correctly linked to the video output device while configuring a computer. This is very significant as motherboards with inbuilt graphics can operate without a separate GPU. On the other hand, devices without integrated graphics will need a GPU for any display.
To ensure correct operation, it is crucial to plug the monitor directly into your GPU if you have one. In contrast, ensure the display is connected to the motherboard if you don’t have one.
It is crucial to ensure that all necessary power cords are also connected. If your GPU needs an additional connection, you must make it to stop the computer from delivering video to the display. Making sure all the required connections are done will help you avoid problems and ensure a smooth setup process.
Be sure the brightness is

set correctly.
If the brightness of your computer screen is too low and you’re unable to see anything, don’t rush and take as much time as you need. This issue might have a straightforward resolution.
Start by checking your keyboard for any hotkeys related to the brightness that may have been accidentally altered. Occasionally, the brightness can be adjusted without notice by pressing a single key. Please search for the key on the keyboard with a sun or light bulb symbol. This key is typically found on the top row.
Once you’ve located the hotkey, use it to increase the lighting. Verify that your PC is linked to a display you believe to be functional. Checking your computer’s display settings is also a bright idea to ensure everything is set up correctly. You should be able to change the brightness after following these instructions and see what is on your screen once more.
Try to reset your monitor.
Resetting your display is an important step to make sure it works properly and has settings suitable for your computer. Depending on the sort of monitor you have, there may be different ways to reset it. To prevent harming your monitor, carefully follow the manufacturer’s recommendations.
Verifying that the computer’s input is chosen after the monitor has been reset is crucial. You should modify the input settings if you recently changed the cords that link your computer to your monitor.
After resetting your monitor and choosing the proper input, it is advised to restart your computer and see if it properly establishes a connection with your monitor. By doing this, you can ensure your monitor is operating correctly and showing the appropriate settings for your computer.
Check other devices connected to the computer.

It’s crucial to check your peripheral devices first when troubleshooting a black screen on your computer monitor. Unplugging any additional cords or devices, such as different displays, external drives, or USB hubs, is one of the easiest and most efficient things you can do.
Restart your computer with only one monitor plugged in after unplugging these items. If the screen is still dark, try connecting a different monitor with the same wire. Try connecting the monitor to a different port on your computer or using a different cable.
It’s time to start thinking about other potential problems producing the black screen once you have established that the monitor is operational and the cable is appropriate.
You may have to change the RAM.

Changing the RAM in your computer is crucial to prevent any potential problems. Try removing all of the Memory from your computer and then replacing it with one stick to see if that solves any issues you may have. Try starting your computer with that one stick in place after that. Try another stick in the same slot if the first one doesn’t work.
Use one stick in a different slot if you’re still having problems. This technique can assist you in identifying any damaged RAM sticks or places that might be the source of the issue.
If only one RAM stick is inserted into a certain slot and your computer boots and functions OK, your RAM or the slots may be broken.
It’s crucial to make sure that you firmly press the RAM into the slot until it clicks into place. Your computer may not operate correctly if the Memory is not properly installed. Long-term time and annoyance savings can be achieved by taking the time to install your RAM correctly.
Testing Your Power Supply
All of the components in your computer are powered by the power supply unit (PSU) in your computer. Even though your computer appears to be operating normally, it’s still conceivable that the PSU is having problems, which could prevent enough power from reaching all components. As a result, it’s crucial to periodically test your PSU.
If you frequently work with computers, buy a power supply tester. Compared to a multimeter, this method is safer and more straightforward for testing your PSU.
Unplug and open your computer before testing your power supply. Unplug all power wires from it to ensure that the PSU is not linked to any components before testing.
To make sure the voltage switch on the PSU is appropriately configured, check it. The setting for US PCs should be 110V/115V.
Next, depending on the design of your PSU, attach one of the more miniature and/or bigger power connectors. Then, if the PSU has a switch, plug it into a wall socket and turn the power on.
Once everything is connected, turn on the power supply tester and use the display to guide you. If the screen doesn’t illuminate, your power source is likely broken.
Ensure that none of the voltage values on the screen has the letters LL or HH. A faulty power supply must be replaced if any values are outside of tolerance. To ensure that the voltages indicated on the screen are within the appropriate ranges for your PSU, consult the instructions that came with your power supply tester. Replace your power supply if the values don’t fall within the allowed range or the delay value isn’t between 100 and 500 ms. Depending on the design of your PSU and the power cords that extend from it, you may need to check the other cables.
Make sure to choose a PSU model that is rated to withstand the power requirements of all the components in your computer if you need to replace your PSU.
Conclusion
Trying to diagnose a problem with your computer can be frustrating, and one thing you can do is check for hardware damage on the machine.
Start by looking for any evidence of damage, such as blown capacitors or electrical shorts, on the motherboard. Look for charred areas, protruding parts, or exposed wires. Your computer may cease to work properly due to any of these problems.
If you discover damage to your motherboard, you might have to completely replace it to get your computer back up and running. Sadly, it can be a complex procedure, and sometimes it makes more sense to replace the motherboard as a whole rather than attempting to fix individual parts.